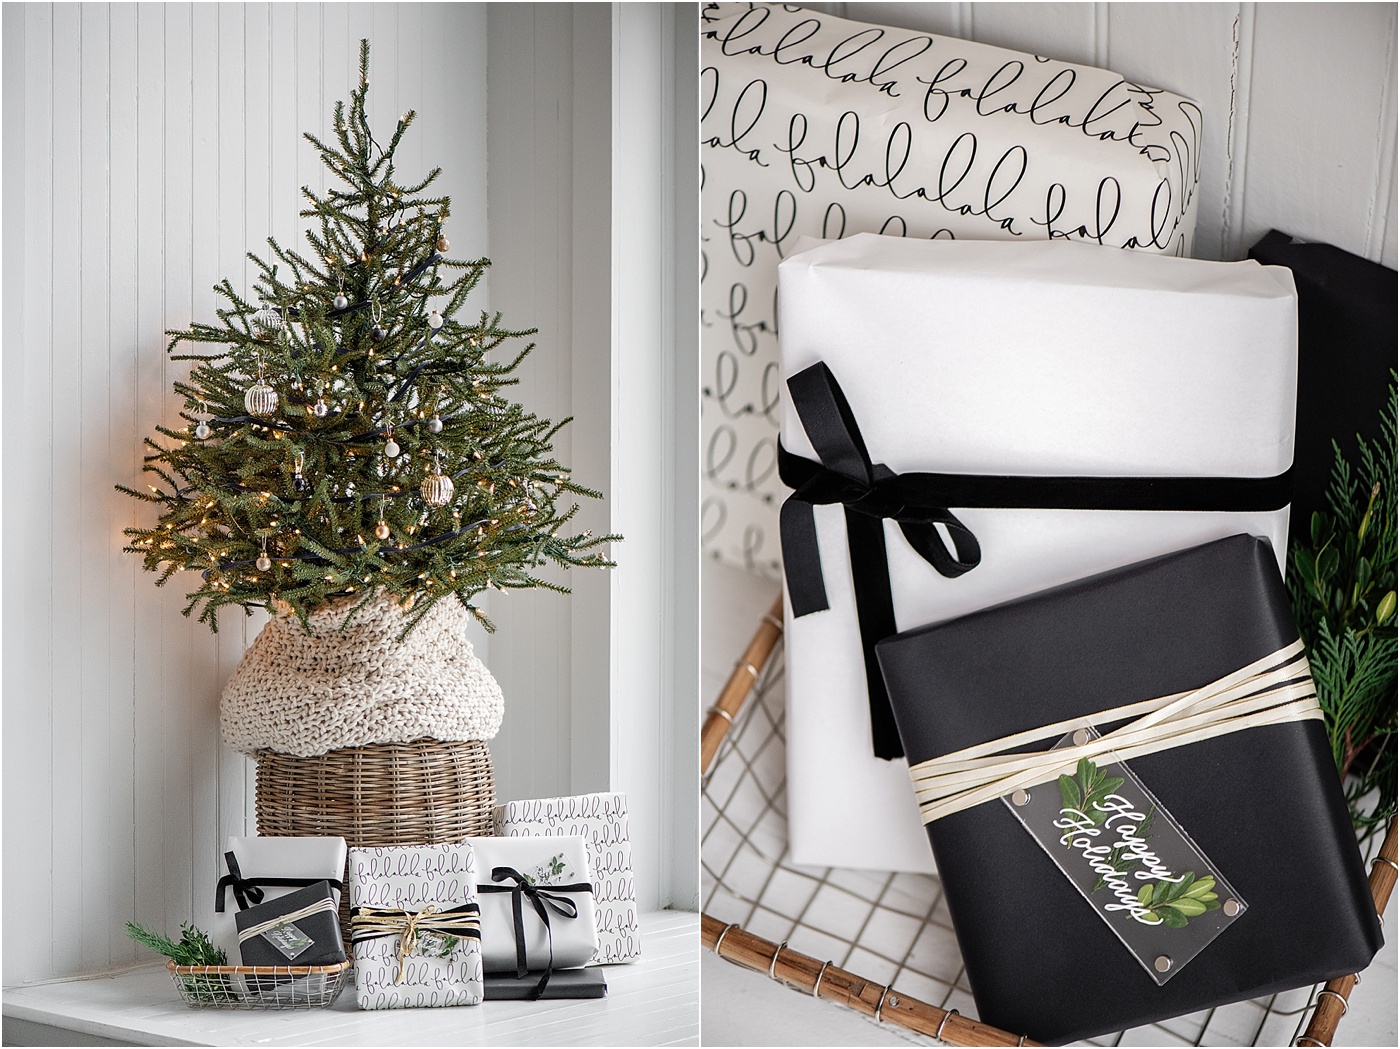
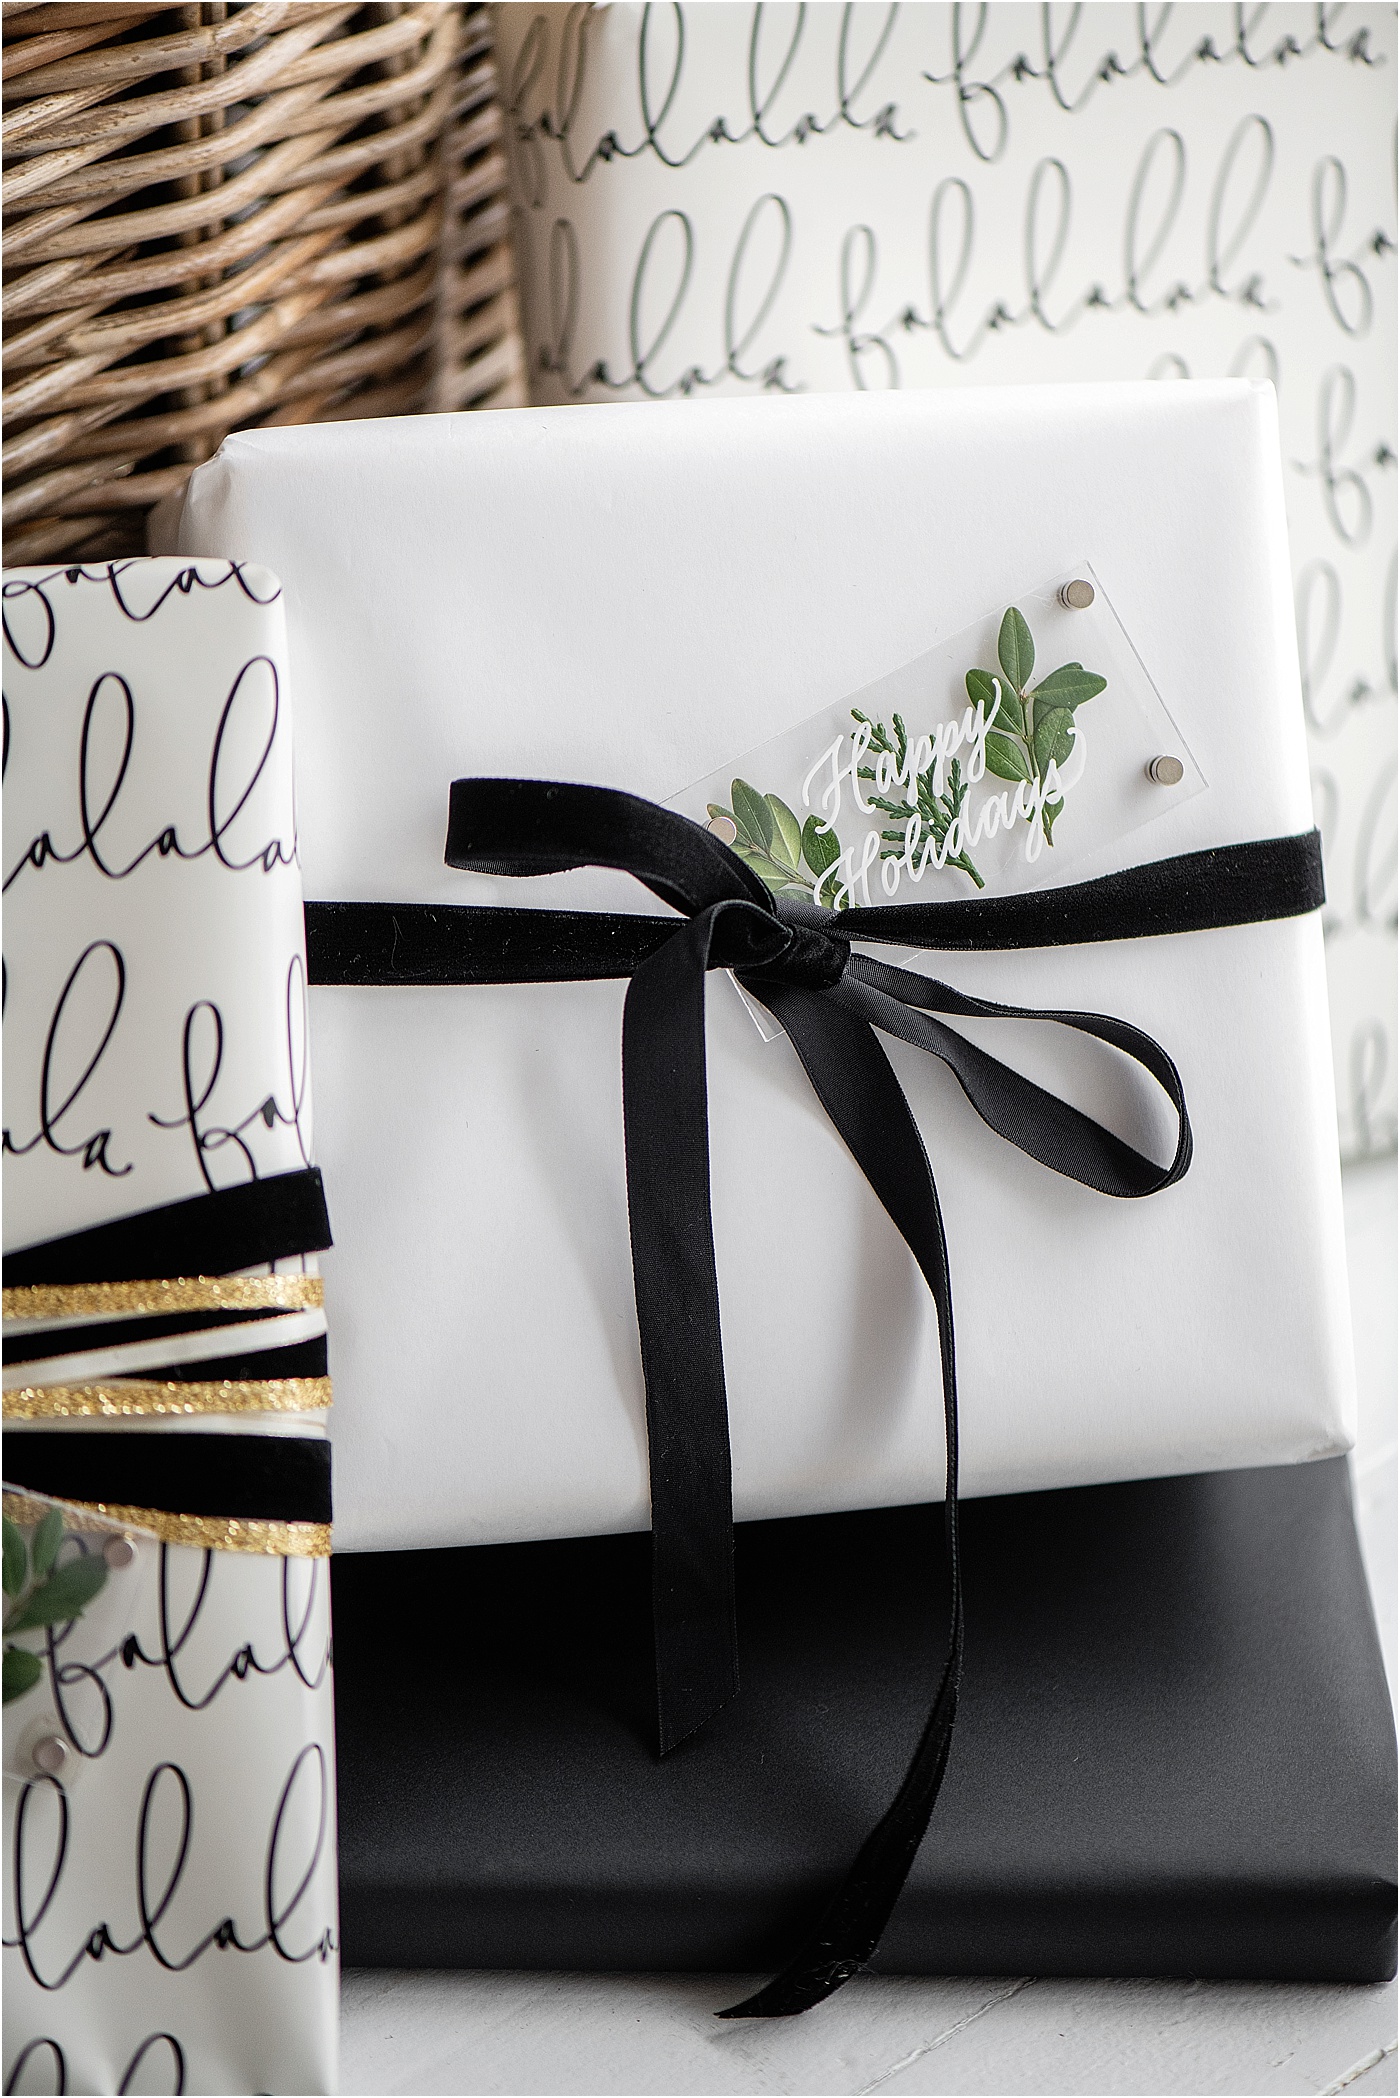
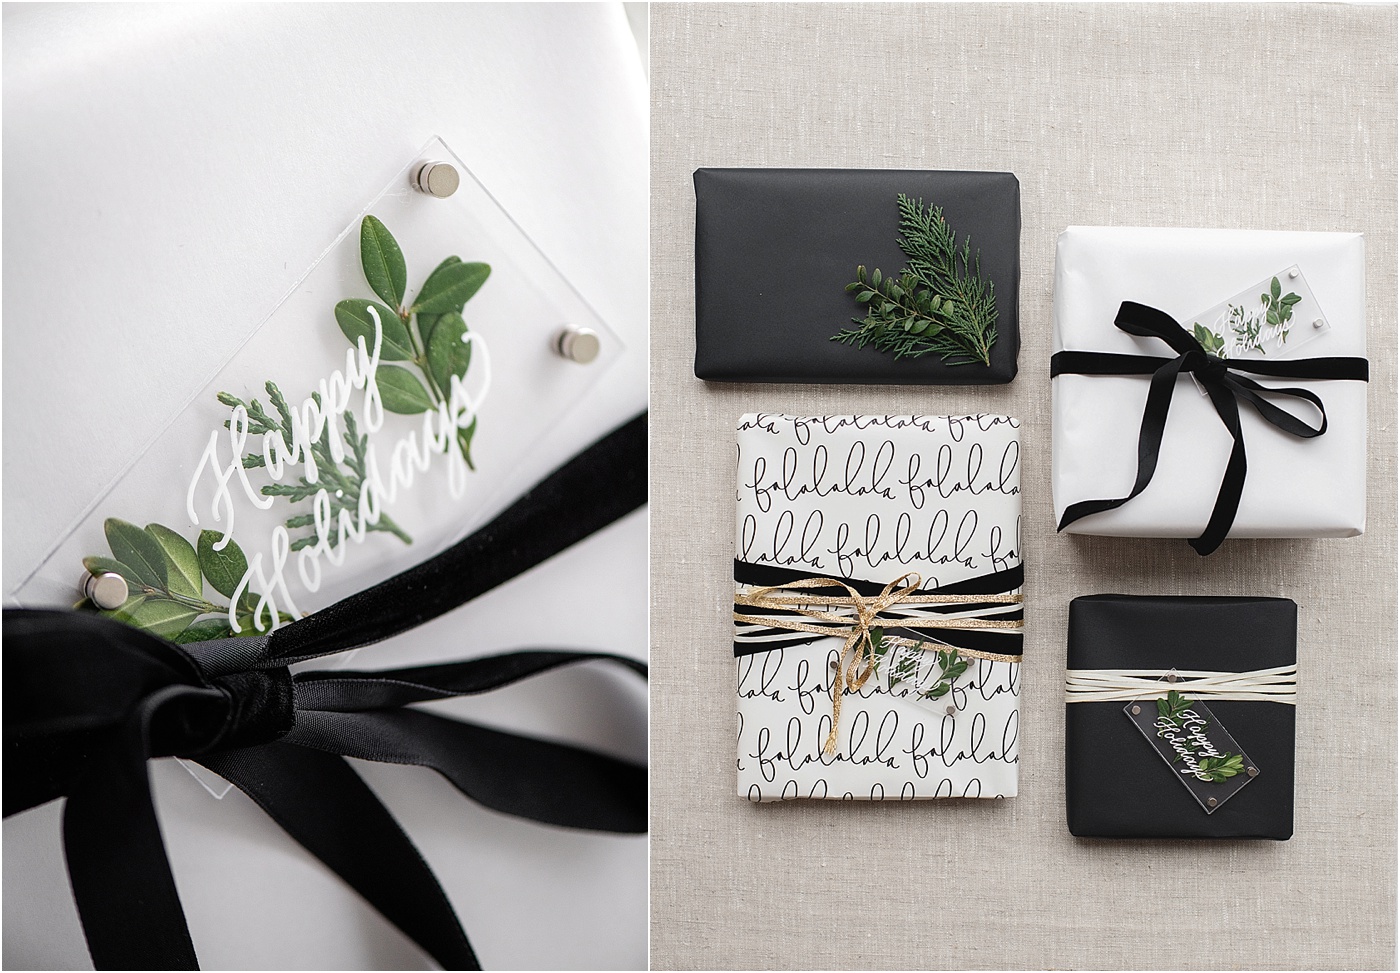
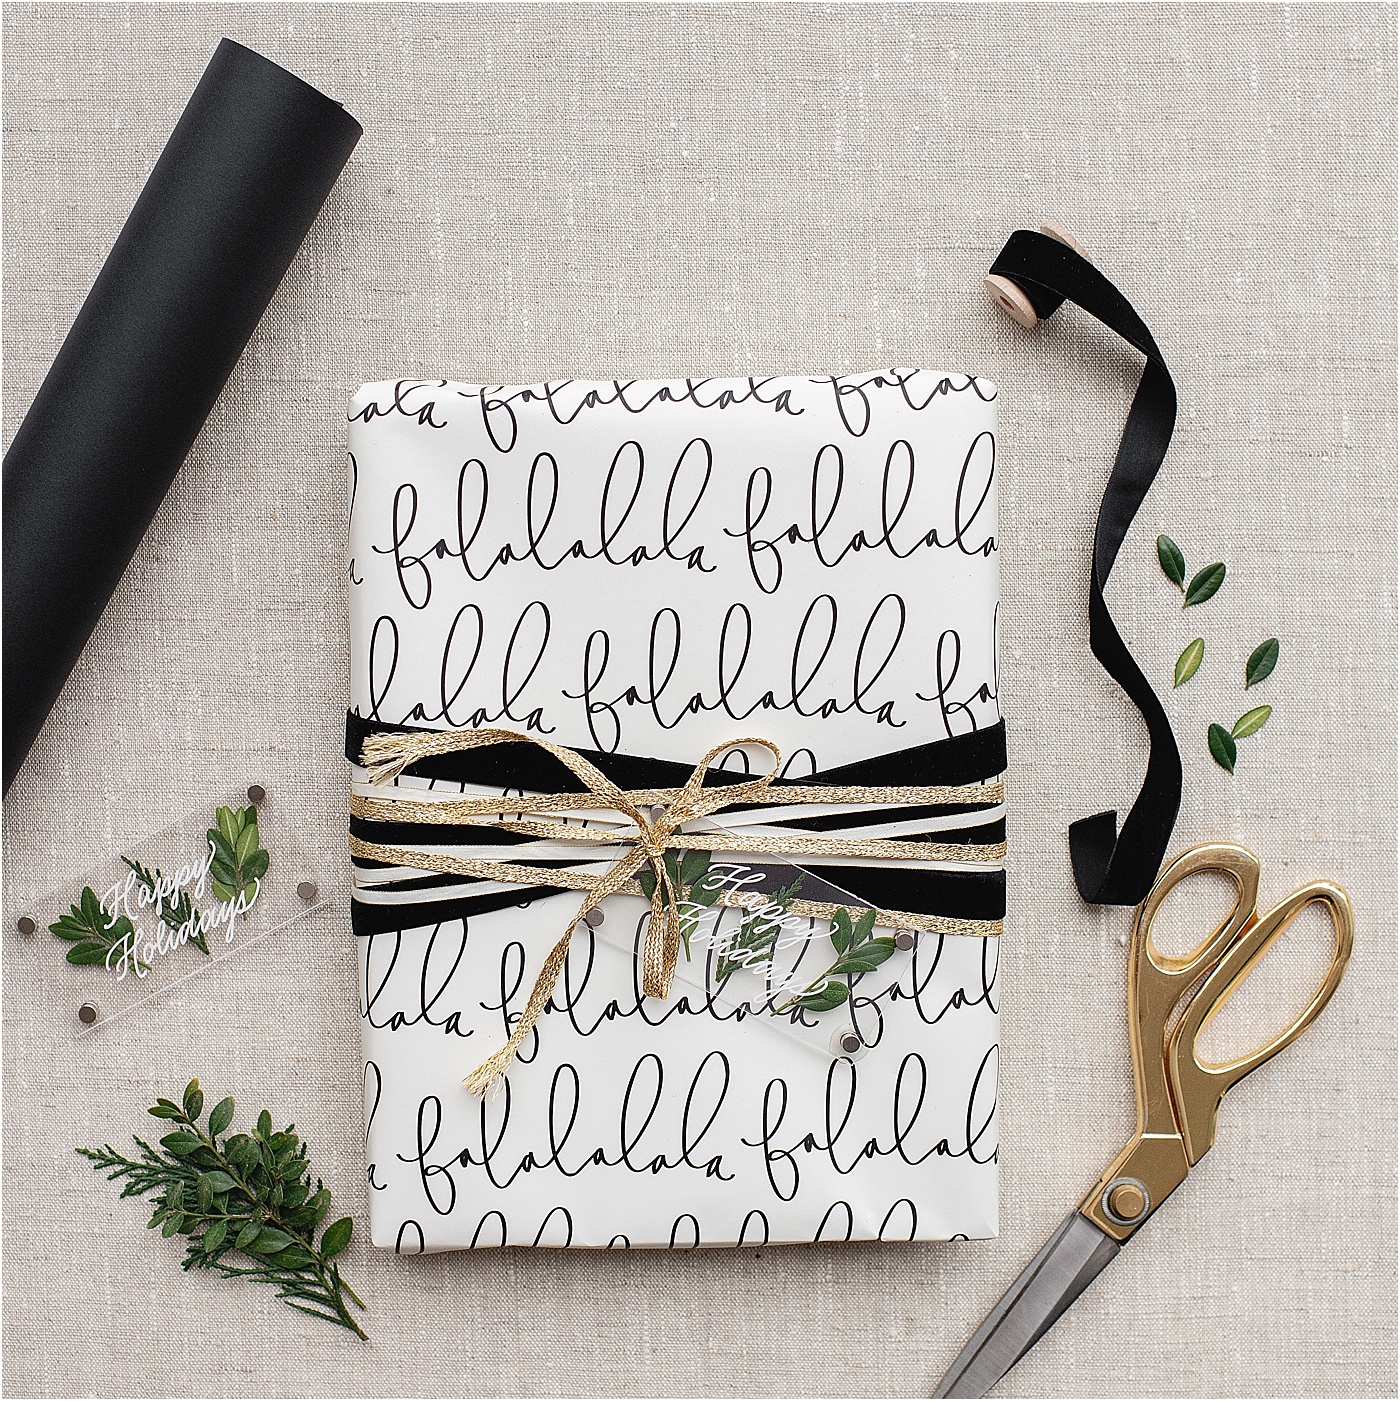
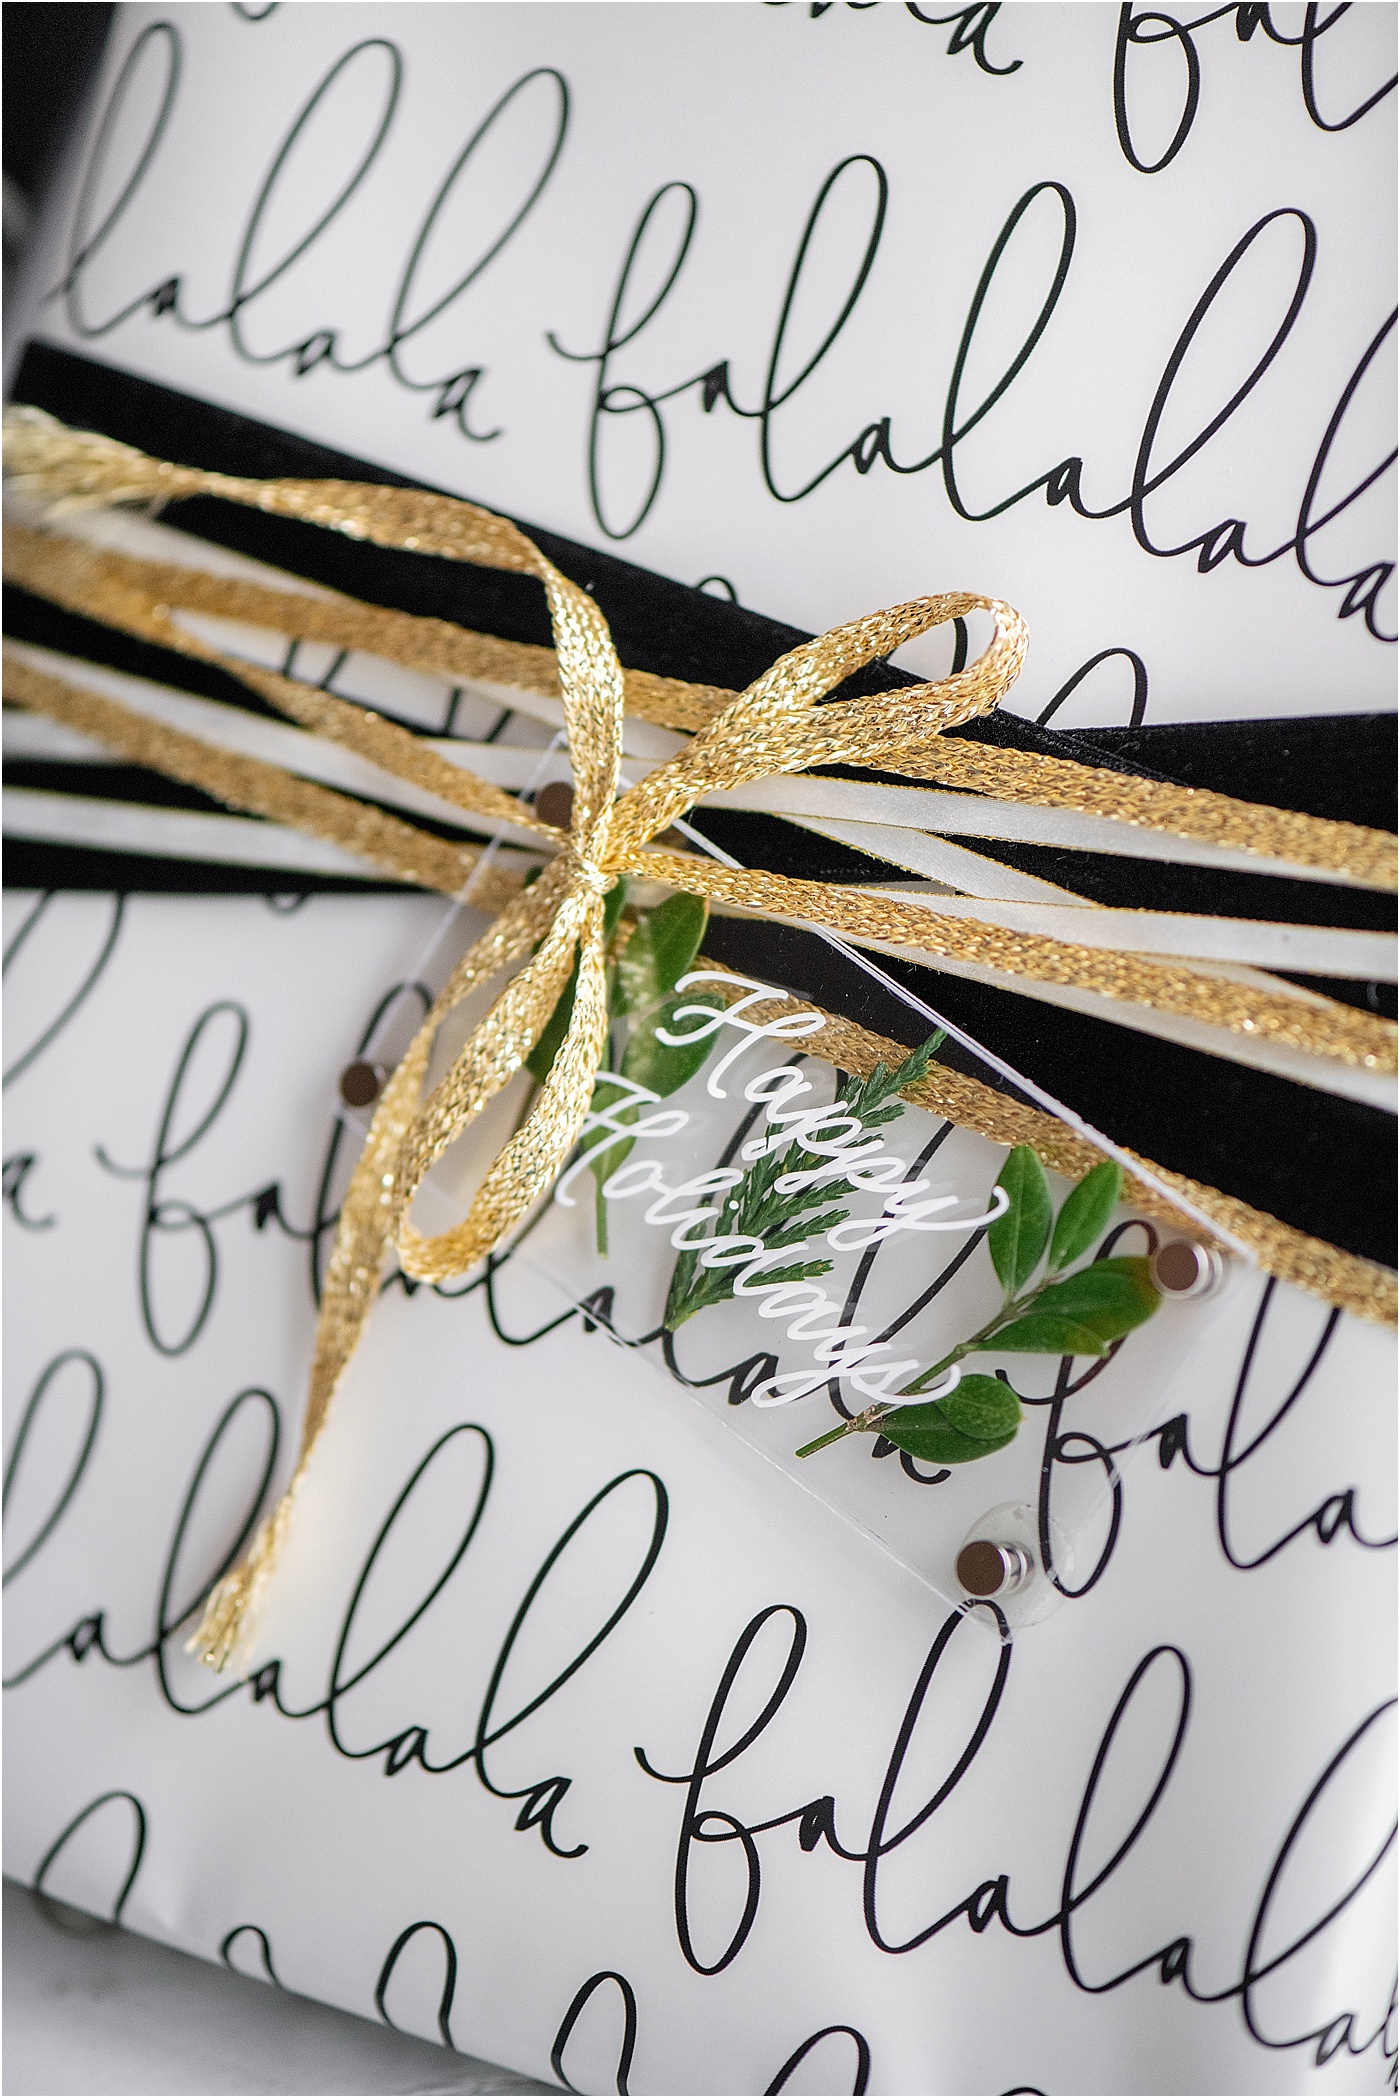
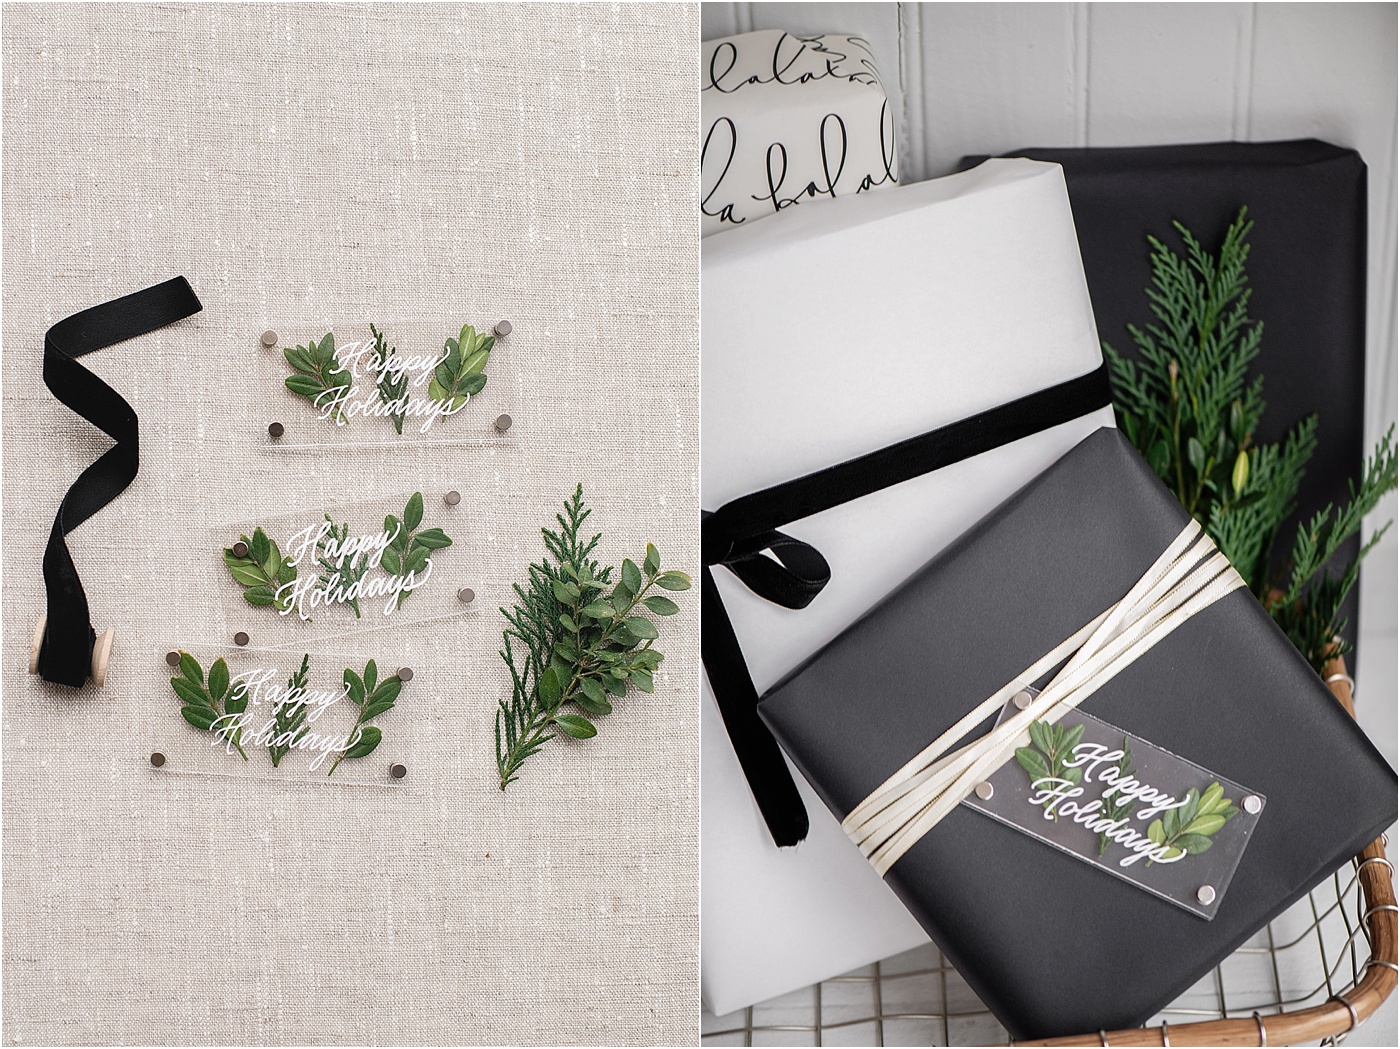
We’re definitely guilty of trying to add fresh greens to all things holiday. So we figured why not find a new way to add them to our gift tags this year? Enter these adorable pressed greenery acrylic tags! This is one of those DIYs that’s 100 percent worth doing because it’s A. Easy and B. Makes a Big Statement. Plus we love the texture play of the greens and the acrylic. Happy Gifting!
What You’ll Need
–Acrylic Tags (2 sheets per tag)
–Mini Magnets (a total of 8 per tag)
–Glue Dots
-Pressed Greenery
How to Make Them

Vendors:
Photography: Karena Dixon
Design & Styling: Kari Rider Events
Calligraphy: Surcee Calligraphy
Script Wrapping Paper: Sugar Paper for Target

Kari Rider Events is a boutique event planning and design company crafting elegant, individually styled celebrations on the Eastern Shore of Maryland and beyond. Our blog features real weddings designed by our team, shoots we've styled for magazines and other blogs, and lots of wedding tips and inspiration. Thanks for stopping by and we look forward to hearing from you!
follow us: 


